
How to Reskin an MGB Door Like a Pro
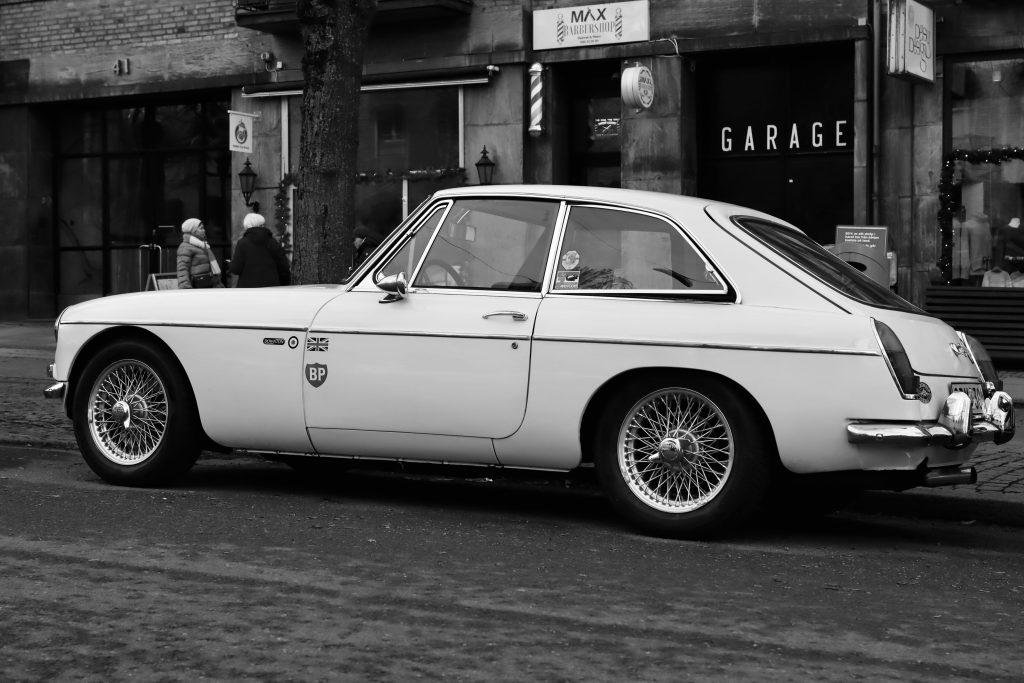
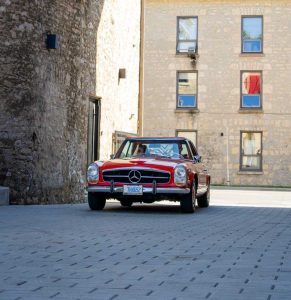
MGB at life in classic
There was a time when repairing damaged doors meant hours of hammer-and-dolly work, lead or plastic filler, and careful welding to seal unwanted holes. Today, restorers have another path: quality reproduction panels that bring a tired door back to life with factory-fresh lines. If the outer skin of your classic’s door is rusty or beyond saving, a replacement skin can be a smart solution. The job requires patience and a measured touch, but it’s well within reach for committed enthusiasts—especially with a bit of practice on a scrap door.
The process begins with a clean work area and a cushioned surface to protect the door shell. Unbolt the door from the car and set it on a padded rack or bench. To remove the old skin, use a grinder to work along the perimeter. The key is quick, even sweeps—never dwell in one spot. Excess heat can warp the frame or distort edges you’ll need later for a clean fit. As the metal thins, you’ll often see a faint color change toward blue along the lip. That’s your indicator you’re nearly through the outer layer. One light final pass will reveal the separation between the skin and the frame. A thin chisel or screwdriver can then be used to gently lift the old skin away; if the edge is fully relieved, it will come off cleanly.
Most doors also use spot welds to hold the skin in place. On the MGB shown here, there were four—two near the upper front edge and two near the rear. A spot-weld cutter or specialized drill bit makes quick, tidy work of these welds without punching all the way through the inner structure. Once the welds are released and the perimeter is relieved, the skin typically pops off with minimal force.
With the outer panel removed, the door shell will reveal its true condition. Expect to find surface rust and waviness around the outer flange. This is the time to straighten and clean. Use a hammer and dolly to remove ripples and ensure the flange sits at a consistent angle around the perimeter. A straightedge or yardstick is useful for spotting inconsistencies. When the flange is true, coat all bare metal with a cold galvanizing compound or weld-through primer. These coatings resist rust and can be welded over later with minimal damage—unlike standard paint.
Before introducing the new skin, test the shell on the car. Rehang the bare door and study its shape within the opening. This trial fit highlights any deviations that could complicate alignment later. Professionals check fit repeatedly throughout the job; it’s the difference between “good enough” and a door that closes with that crisp, factory click.
Now for the new skin. Position it on the shell and begin the crimping process using a hammer and dolly. Hold the dolly tight to the edge at about a 45-degree angle and work in light, even passes. The first round is only a partial fold—just enough to start turning the lip over. Stop and check alignment. Then continue, always keeping the dolly right at the edge. Pulling the dolly back from the lip invites creases and can damage the outer face of the panel. If your door has a sharp corner, slightly ease the tip with a couple of taps to remove a knife-like edge that could telegraph through paint or trap moisture.
Once the lip is turned uniformly, transition to flattening the flange against the door frame. Work gradually around the perimeter until the skin is fully seated. Rehang the door and evaluate the gaps. This is the finesse stage: minor adjustments come from tiny taps that nudge the skin forward or backward and from careful work on the flanged edges. If the front gap is wide and the rear is tight, a gentle push forward on the skin edge can shift the panel. If a section is tight in the middle but open at the top and bottom, you can relax the curve by working the flange at that point, then re-flatten to shorten the arc. Thoughtful, incremental changes are the hallmark of a clean, professional result.
When the gaps are even and the contours flow, take the door back to the bench. Drill small holes near the original spot-weld locations and plug-weld the skin to the underlying flanges. Grind the welds smooth, then hang the door again for a final check. This is your last chance for micro-adjustments before finishing.
Before paint, especially in damp climates, protect your work from the inside. Flood the inner cavities with cavity wax, ensuring it creeps into seams and overlaps where moisture likes to hide. Then prime, paint, and reassemble the window regulator, glass, and latch hardware with fresh lubrication.
From the first sweep of the grinder to the last pass with the dolly, the secret is patience. Confirm the fit often, make small moves, and let the metal tell you where it wants to go. With methodical steps and a steady hand, a replacement door skin can restore the crisp shut lines and smooth surfaces that make a classic feel new again—no heavy filler required.
Protect your classic MGB with a custom car cover from Cover Compan